Create Engaging Word Cloud Visualizations from Your Research
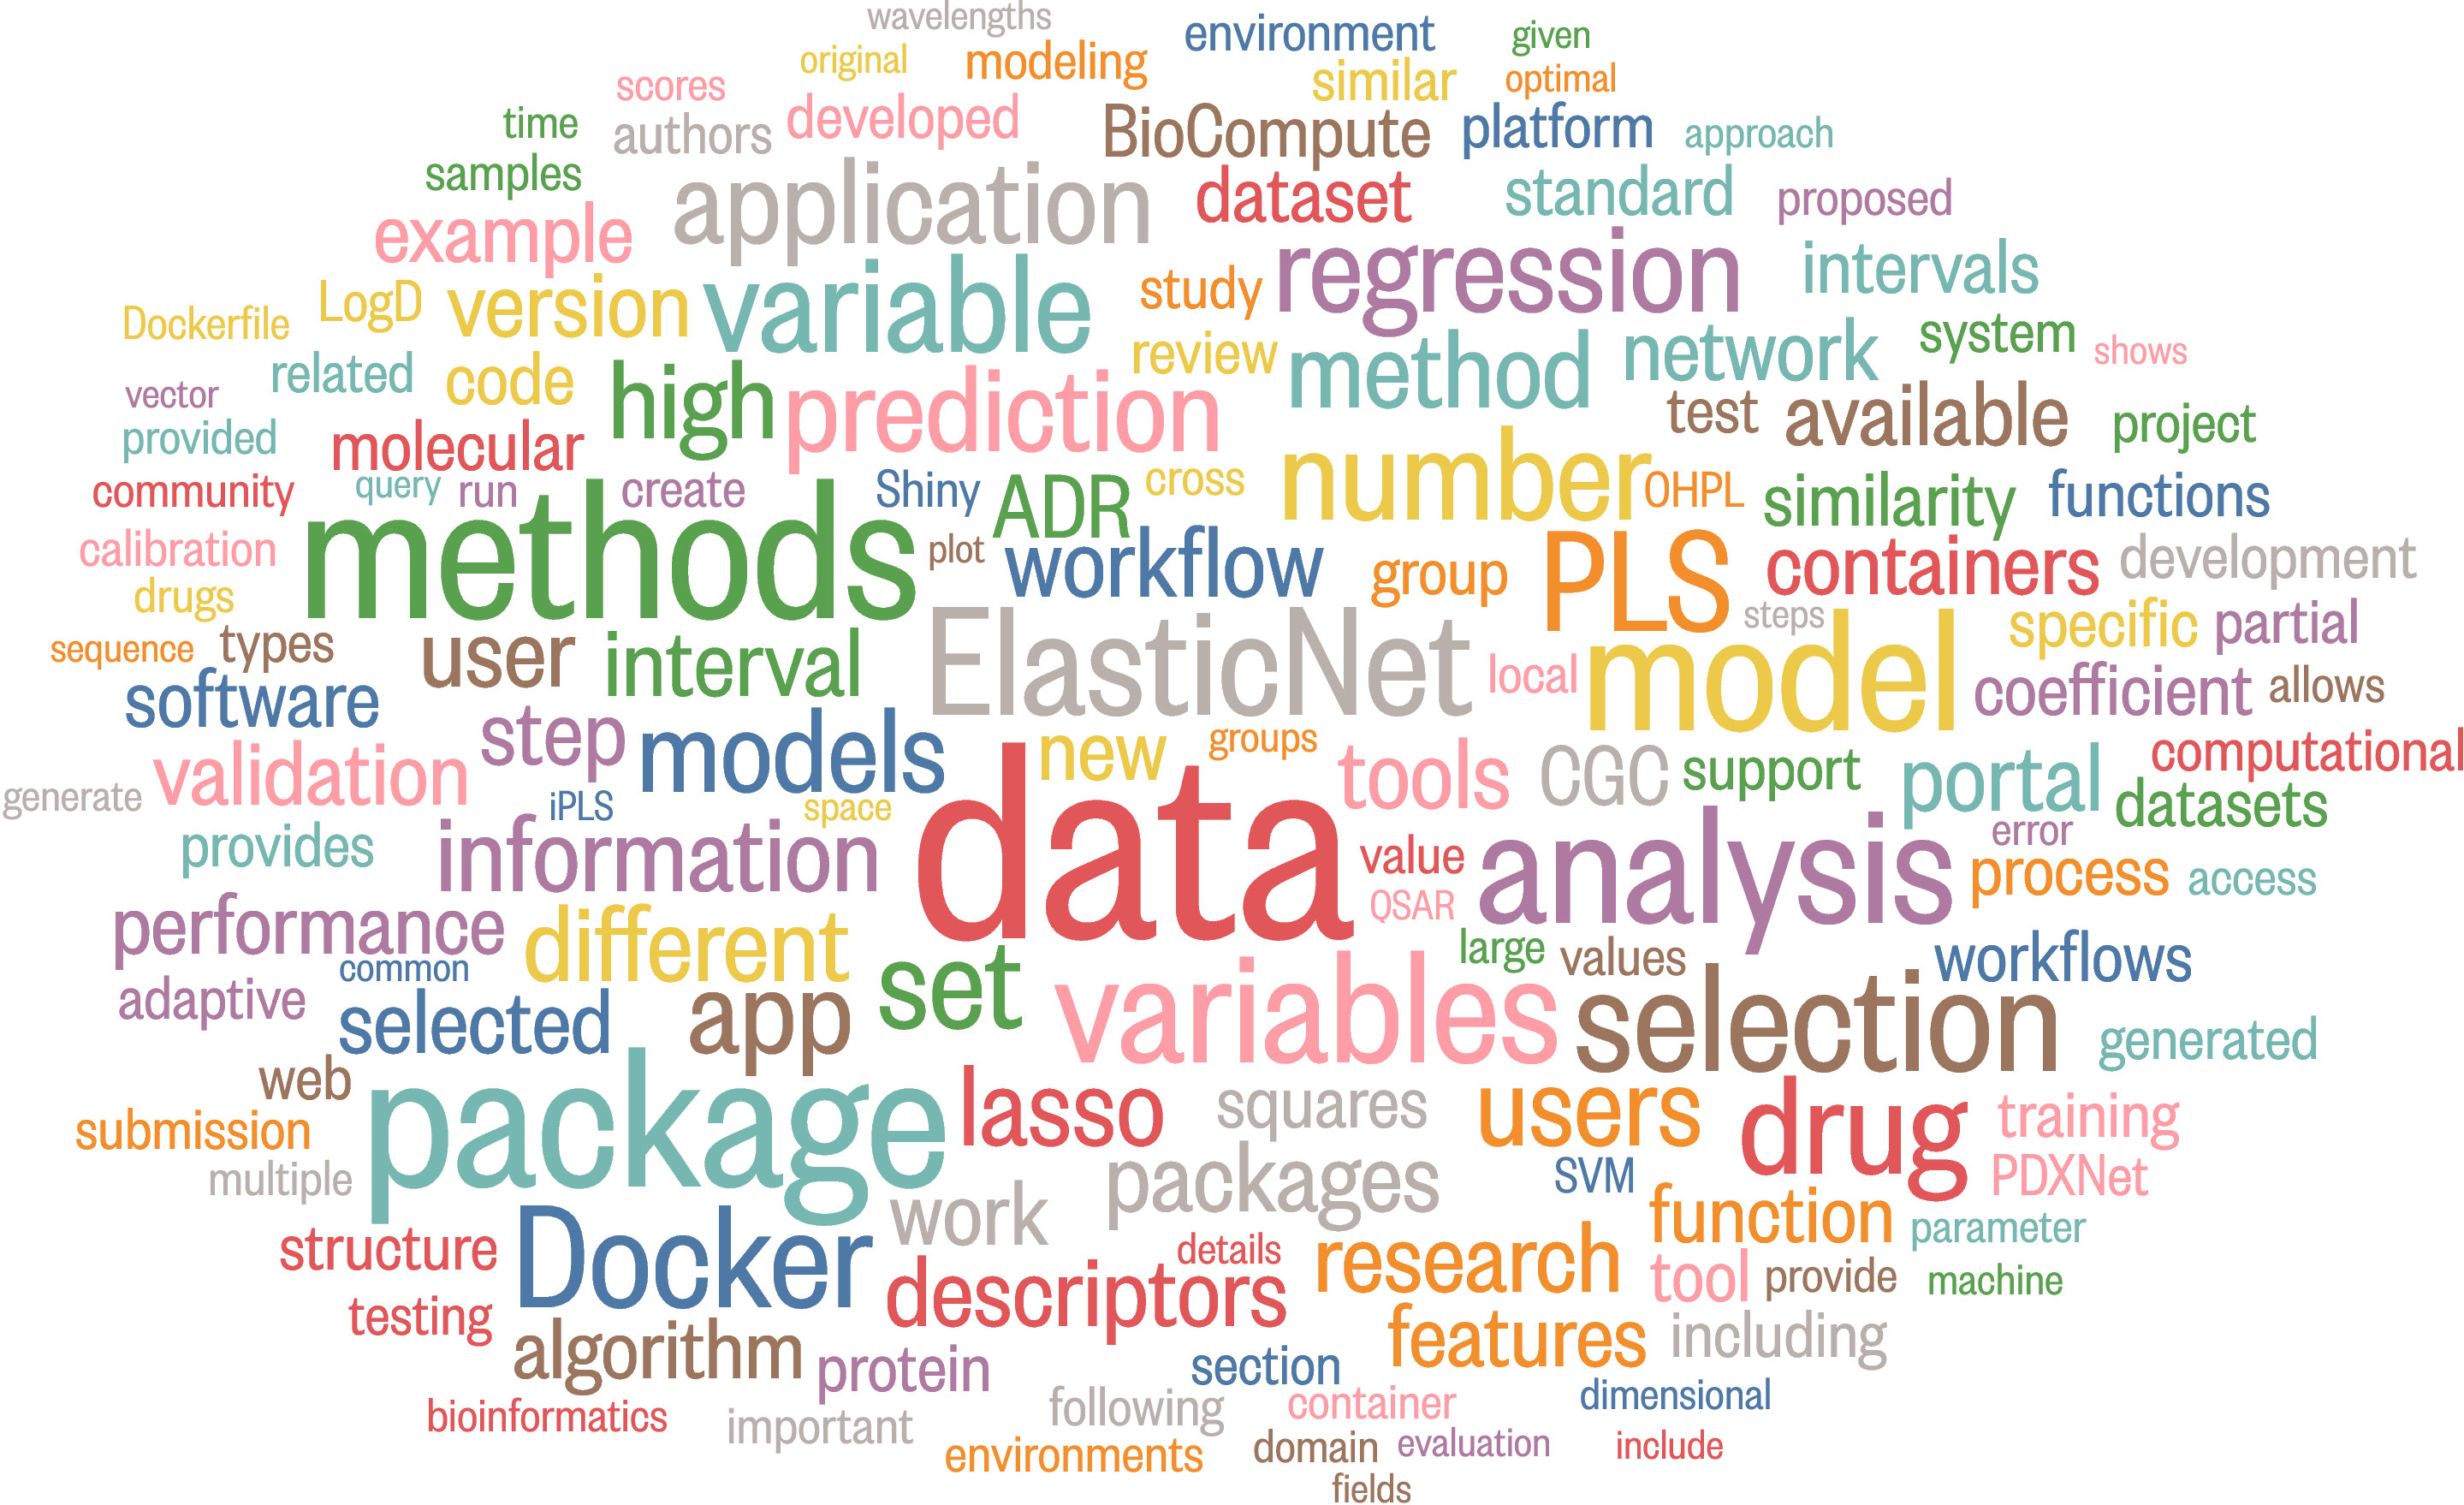
Many outstanding researchers and labs have created visualizations of their research using word clouds. In this post, I present a simple, automated “paper2wordcloud” workflow to create eye-catching word cloud visualizations. It combines the efficiency of automation with the power of human intuition and aesthetic sense. The figure below was created using my published papers.
The general steps in the workflow are:
- Collect PDF files representing your research (10 min).
- Run a Python script to extract the top words from the PDF files (10 min).
- Review, edit, and finalize the list of top words (20 min).
- Use a word cloud generator, adjust the look, and generate SVG (15 min).
- Convert the SVG file to a PDF/PNG file (5 min).
Now let’s dive into it.
Workflow
Step 1: Collect your research
Collect all the PDF files that can represent your research, for example, papers, slides, posters, and proposals. Place all PDF files in a single, flat directory, without subfolders. The PDF files should be machine-readable, that is, the pages should not be scanned photocopies, and the text should be selectable in PDF viewers.
Step 2: Extract top words
2.1 Install Python
Install Python if you haven’t. For macOS users, install Python via Homebrew:
brew install pythonThis will install the latest maintained release of Python 3 provided by Homebrew.
2.2 Get text processing script and install dependency
Clone this GitHub repo: nanxstats/pdf-word-extraction. It contains a Python script I wrote for extracting meaningful words, as defined by a statistical model, from the PDF files.
Follow the workflow section in the repo readme to create a virtual environment in the cloned repository, activate it, and install the required Python packages into the virtual environment. This includes pypdf for PDF parsing, ftfy for text cleaning, and spaCy for natural language processing.
Everything below assumes you are in the directory with the virtual environment activated.
2.3 Run the script
Now, copy all the PDF files prepared in step 1 into pdf/.
Then, run the Python script:
python3 pdf_word_extraction.pyThis will print the top 250 words and their frequencies.
Step 3: Review, edit, and finalize top words
Review the output and identify any words that should be removed or replaced. The common reasons include:
Removal: Words that are meaningful in general but not meaningful in your research context should be removed. Examples include “journal”, “conference”, “Figure”, “Table”, and author names.
Replacement: Uncommon proper nouns that should be stylized in a specific way can be fixed via replacement. The frequency counts for plural and singular forms of the same word can be merged via replacement, too.
To add word removal or replacement rules, open pdf_word_extraction.py.
Edit the entries in the list words_to_remove and the key-value pairs in the
dictionary replacements. Save and run the Python script again with the same command as before:
python3 pdf_word_extraction.pyCheck the output again. Since some words in the original output have now been removed or replaced, the words newly popped into the list might give you more words to remove or replace. Continue this review-edit-run cycle until the top 250 words looks perfect. For me, I ended up removing 50 words and establishing 12 replacement rules.
Each time after running the script, a top_words.txt will be generated or
overwritten under the directory. We will use this file in the next step.
Step 4: Use the word cloud generator
Open top_words.txt, select all content, copy and paste into the
word cloud generator described in my previous
blog post,
then click the “Refresh Word Cloud” button to generate an initial layout.
Adjust the graphical parameters based on your aesthetic preferences. Key parameters to consider include the color palette, font, scale transformation method, and the number of words to display.
Keep clicking the “Refresh Word Cloud” button until you achieve a layout you are satisfied with. Personally, I prefer a layout where all the major words are displayed horizontally. Click the “Download SVG” button to save the word cloud as an SVG file.
Step 5: Convert word cloud to a PDF/PNG file
See the appendix section of my previous blog post for a robust command-line workflow to convert the SVG file into a vector PDF file or a 300 DPI PNG file.
Summary
With these steps, you now have a professional word cloud visualization based on your research. Enjoy exploring your data in this visually engaging format!
This “paper2wordcloud” workflow demonstrates how to use Python to automate a seemingly difficult task that involves processing natural language data, while allows incorporating human knowledge and preferences. I’m quite amazed by how the text data processing toolchain in Python has advanced, making it a perfect choice for tasks like this.